 214-904-9400


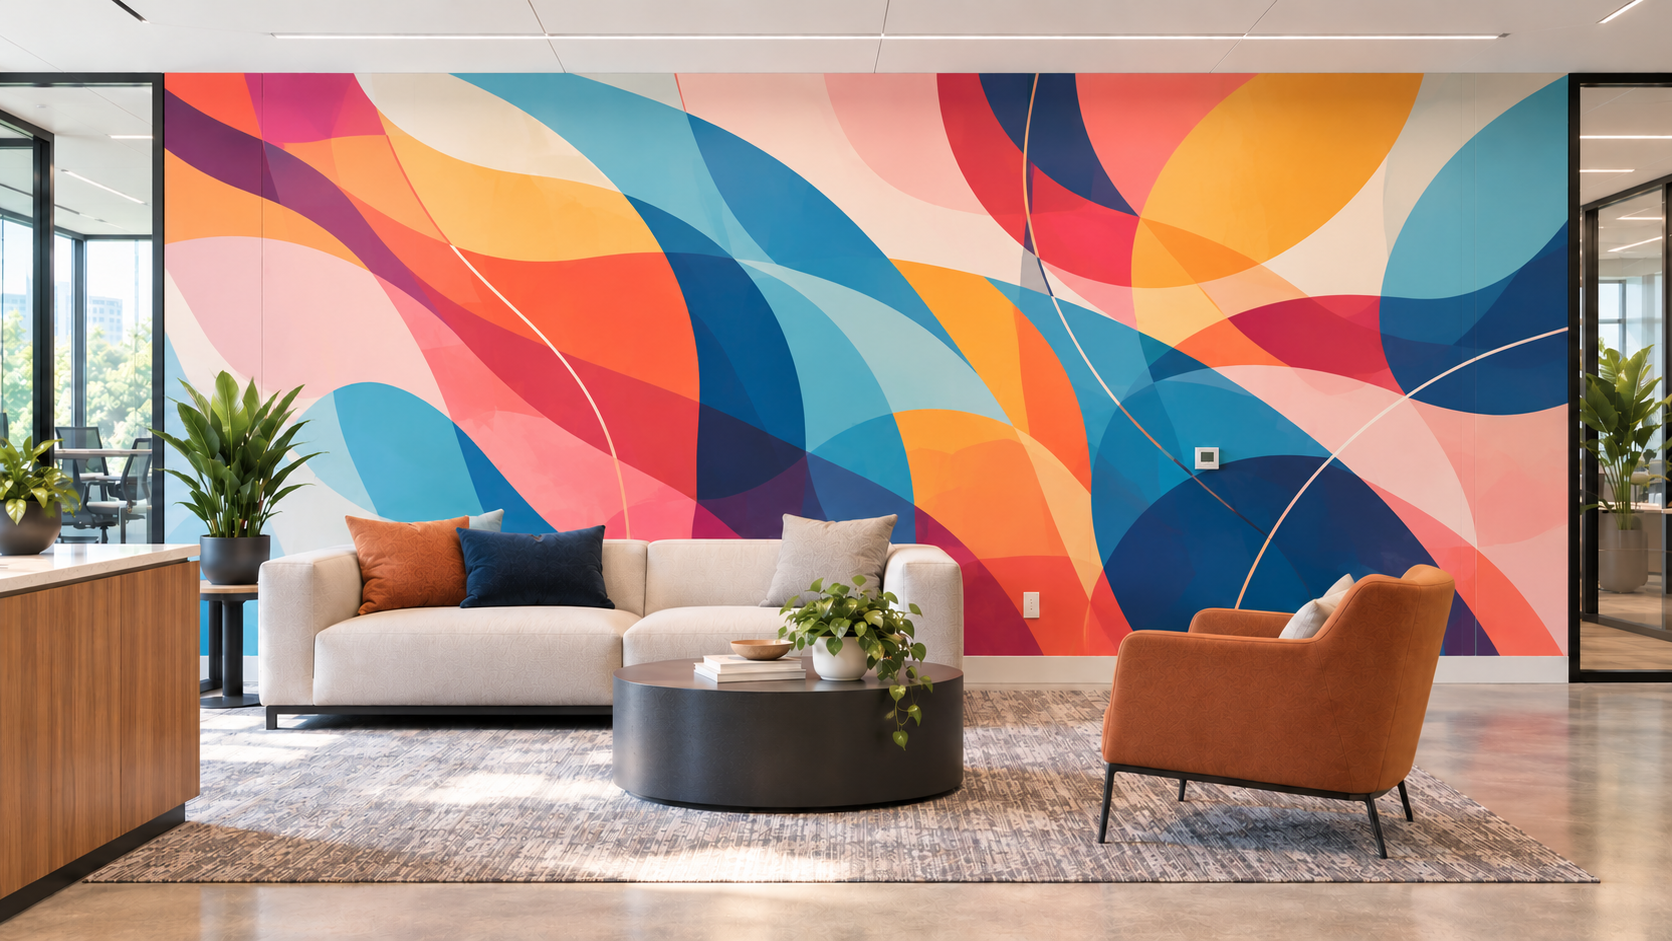
A wall mural sounds simple until you’re the one planning it. Somebody walks past a blank wall in the lobby, imagines the company logo or a striking piece of branded artwork filling it edge to edge, and assumes it’s basically the same as hanging a large framed print. It isn’t, and the gap between those two things is where most office mural projects run into trouble.
A mural is a construction project wearing a design project’s clothes. It involves measuring real, imperfect walls, accounting for obstacles nobody thinks about until they’re staring at them mid-install, choosing a material that matches both the wall surface and the traffic level of the space, and planning a seaming strategy for anything too large to print as one continuous piece. None of that is hard to get right. It’s just rarely planned for up front, which is exactly why it causes problems.
Start With the Wall, Not the Art
Before any design conversation happens, the wall itself needs to be assessed. Is it painted drywall, textured plaster, brick, or something else? Is the paint fresh, or old enough that adhesive vinyl might pull it off when removed later? Are there outlets, light switches, thermostats, fire alarm pulls, or HVAC vents anywhere inside the mural area? Office walls are rarely the clean, obstacle-free canvas they look like in a rendering, and every one of those obstacles needs to be accounted for in the design before printing, not patched around after installation.
Wall texture matters more than people expect. A heavily textured or stippled wall will show through a printed vinyl application, creating a slightly bumpy, uneven surface that can distort fine detail or small text in the artwork. Smooth, properly primed drywall is the best-case scenario. Anything else usually calls for either smoothing the surface first or choosing a thicker, more opaque material that handles texture better.
Choosing the Right Material for the Job
There isn’t one right material for office murals, there’s a right material for each specific wall, budget, and timeline. Removable wall film is popular for offices that expect to update branding, rotate artwork, or operate in leased space where permanent changes aren’t allowed. It installs without adhesive residue and comes down cleanly when it’s time for a change. Adhesive vinyl offers richer color and a more permanent finish, better suited to a lobby or boardroom that isn’t expected to change for years. For a more dimensional, higher-end look, some offices choose printed fabric panels mounted on a frame system, which adds texture and a sense of depth that flat vinyl can’t quite replicate.
Quick Reference: Mural Material Options
|
Material |
Best For |
|
Removable Wall Film |
Leased spaces, frequent rebrands, temporary installs |
|
Adhesive Vinyl |
Permanent lobby or boardroom murals, richer color depth |
|
Printed Fabric Panels |
High-end, dimensional installs with a premium finish |
|
Direct Print on Rigid Panel |
Accent walls needing a clean, seamless single surface |
Painted Mural vs. Printed Mural: The Real Comparison
Some offices still default to hiring a muralist to hand-paint the wall directly, and there’s a place for that when the goal is genuinely one-of-a-kind artwork with visible brushwork as part of the appeal. But for most corporate branding applications, the comparison isn’t close once you account for the full picture, not just the upfront quote.
A hand-painted mural typically takes several days to a couple of weeks of on-site work, during which the space is at least partially unusable, with drop cloths, ladders, and paint fumes in an occupied office. It’s also inherently one-off: if the design needs to change, move to a different office, or get updated for a rebrand, the work is essentially gone and has to be repainted or painted over entirely. A printed mural, by comparison, is usually produced off-site and installed in a matter of hours to a day or two, meaning far less disruption to a working office. It’s also reproducible. If the same branding needs to go up in a second office location, the same print file can be used again without recreating the artwork from scratch.
None of this means printed murals are strictly better in every case. A hand-painted piece can achieve a texture and originality that print can’t fully replicate. But for companies thinking about consistent branding across locations, minimal office disruption, or the ability to update the artwork down the road, printed murals usually win on practicality even when the initial quote looks similar.
The Part Everyone Underestimates: Seaming
Most office walls are wider than any single roll of material, which means a mural of real size has to be printed in multiple panels and seamed together on install. This is where a lot of amateur attempts fall apart, visibly. A poorly planned seam shows up as a faint line running through the artwork, or worse, cuts straight through a face, a logo, or a piece of text in an obviously awkward spot.
Good mural production plans the seams into the design from the start, placing panel breaks along natural lines in the artwork, like the edge of a color block or a shadow, where a slight seam is far less noticeable than if it ran through open sky or a subject’s face. That planning happens before a single panel is printed, which is exactly why the design and production conversation needs to happen together, not design first and production as an afterthought.
Lighting Changes How a Mural Actually Reads
A mural that looks perfect under the lighting rig in a design mockup can read completely differently under an office’s actual fluorescent panels or daylight streaming through floor-to-ceiling windows. Warm LED lighting shifts colors toward yellow, cool fluorescent lighting shifts them toward blue, and direct sunlight through windows can wash out contrast on anything mounted nearby. It’s worth walking the actual space at different times of day before finalizing color choices, especially for murals with subtle gradients or carefully matched brand colors.
Maintenance Is a Real Conversation, Not an Afterthought
High-traffic hallways and lobbies take more physical wear than people expect, shoulder brushes, rolling carts, the occasional chair bump. A laminate finish adds scratch resistance and makes cleaning possible without damaging the print underneath. For spaces near a kitchen, breakroom, or any area prone to fingerprints and spills, a wipeable laminate finish isn’t a luxury upgrade, it’s the difference between a mural that still looks sharp in year three and one that’s visibly grimy within six months.
A Quick Planning Checklist for Office Murals
- Assess the wall surface, texture, and condition before choosing a material
- Map every outlet, switch, vent, and alarm pull inside the mural area
- Pick a material based on permanence needs, not just visual preference
- Plan panel seams around natural break points in the artwork
- Walk the space under its actual lighting before finalizing colors
- Choose a laminate finish for high-traffic or high-contact areas
Why Planning This Right Matters More Than People Think
A mural is one of the most visible, permanent-feeling pieces of branding a company will put in its own space. Employees walk past it every day. Visitors see it before they see anything else. Getting the material, the seaming, and the lighting right isn’t about perfectionism, it’s about the difference between a wall that looks intentional for years and one that starts looking like a mistake within the first few months.
If you’ve got a blank wall and an idea, XL Digital can walk through the material, the measurements, and the installation plan with you before anything gets designed, which is exactly the order that produces a mural that actually holds up.