 214-904-9400


Why Graphics Get Added Too Late
Office build-outs almost always follow the same pattern. Architects finalize the floor plan, contractors frame the walls, electricians and HVAC crews move through the space, and somewhere near the end of the project someone asks, what are we doing about signage and graphics? By that point, walls are painted, conduit is run, and the budget for anything beyond basic ADA signage has often already been spent elsewhere.
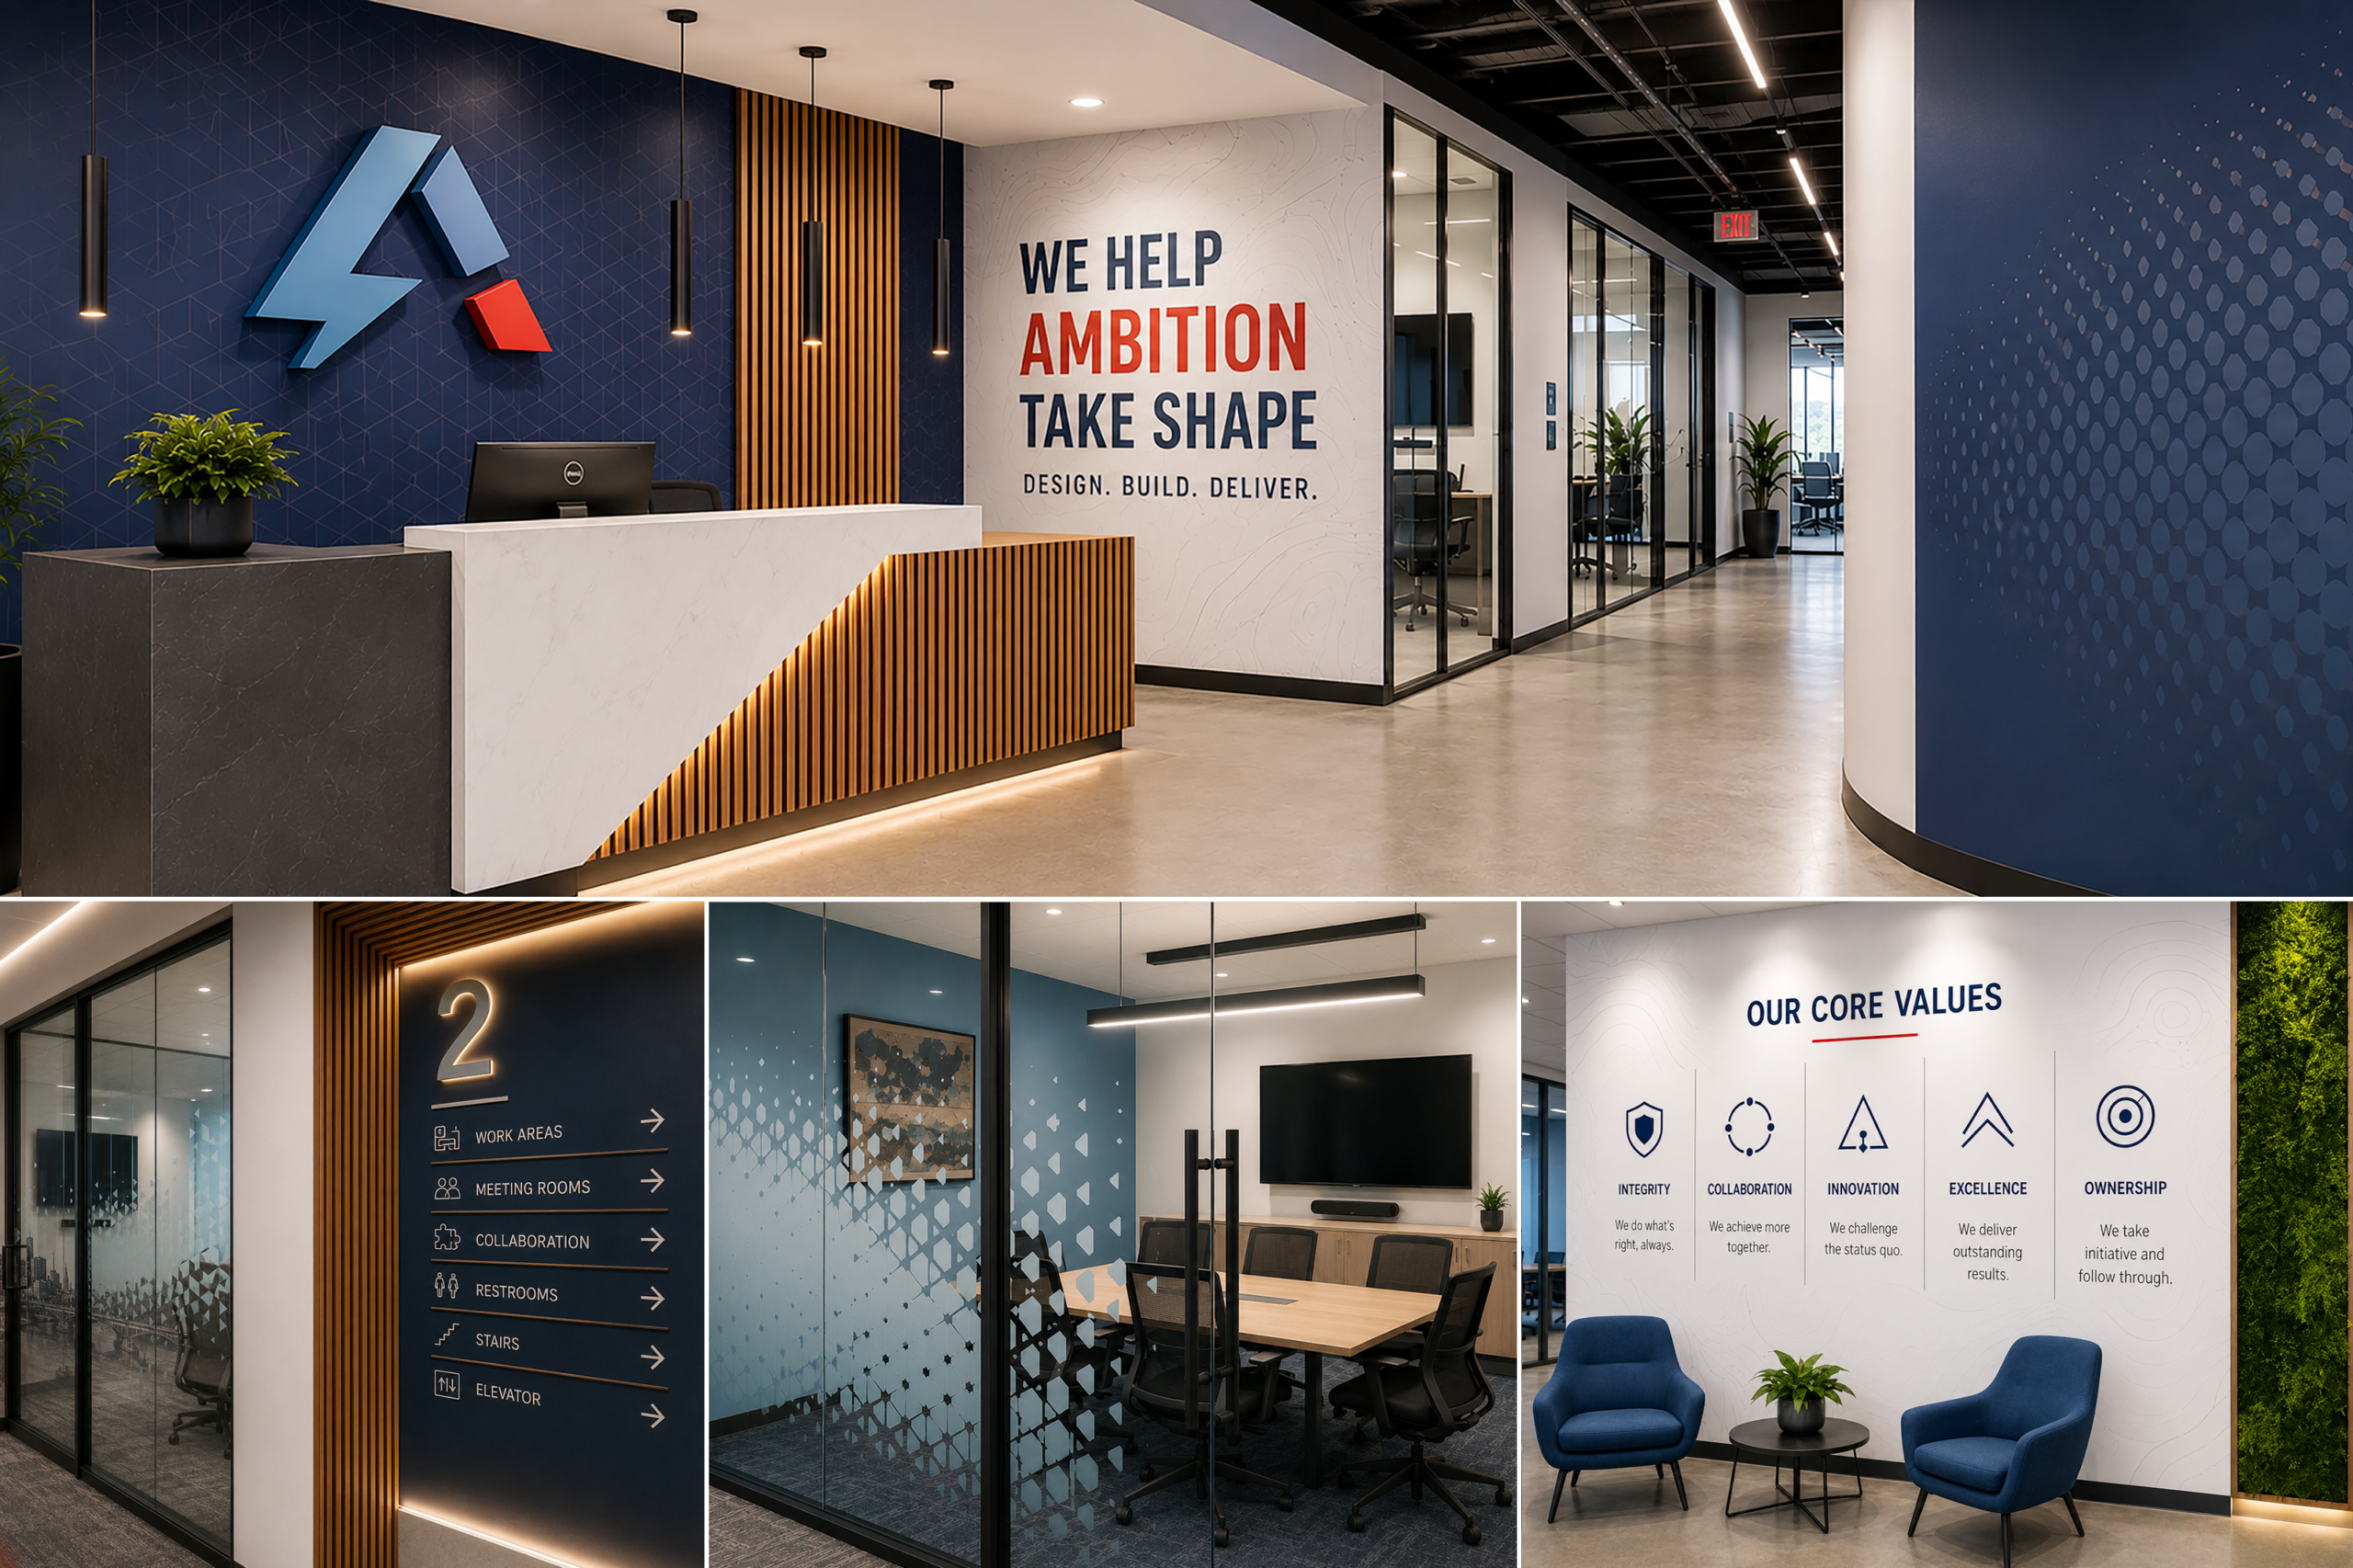
Environmental graphics, the wall murals, wayfinding systems, branded conference room glass, and lobby displays that turn a generic office into a recognizable brand environment, work best when they are planned alongside construction, not bolted on afterward. This checklist is built for companies and designers who want to get environmental graphics right from the start of a build-out rather than scrambling to retrofit them at the end.
Step One: Define the Brand Story Before the Walls Go Up
Before selecting a single material or vendor, define what the space needs to communicate. Is this a client-facing headquarters that needs to impress visitors from the moment they step off the elevator? Is it primarily an employee space where culture and internal messaging matter more than external polish? Different answers lead to very different graphic strategies, and that decision should happen during design, not during move-in week.
Walk through the floor plan and identify the moments that matter most: the lobby, the main hallway sightline, the largest conference room, the elevator lobby on each floor. These are the locations where environmental graphics deliver the most impact per square foot, and they should be flagged early so construction accounts for mounting surfaces, lighting, and power if needed.
Step Two: Coordinate With Construction Trades Early
This is the step most companies miss, and it is the one that causes the most expensive mistakes later. Environmental graphics often need blocking behind drywall for heavy mounted pieces, dedicated electrical for illuminated signage or backlit displays, and specific wall finishes that support certain adhesives or mounting hardware.
If a large format printer or graphics fabricator is brought in after drywall is finished and painted, options shrink fast. Vinyl wall coverings, silicone edge graphics frames, dimensional letters, and backlit elements all have different substrate and structural requirements. Looping in your graphics vendor during the construction documents phase, even just for a walkthrough and a materials conversation, prevents costly change orders later.
Step Three: Lobby and Reception Graphics
The lobby sets the tone for every visitor and every new hire’s first day. Common lobby graphic elements include a dimensional logo wall, a large format mural reflecting company values or history, and a reception desk with printed or laminated branding on the face panel. Consider lighting carefully here. A logo wall with no dedicated accent lighting often looks flat, while the same wall with proper lighting becomes a genuine focal point worth photographing.
Step Four: Wayfinding and Directional Signage
Multi-floor or multi-building offices need a wayfinding system that goes beyond code-required exit signage. Plan for floor directories near elevators, department identification at hallway intersections, and conference room nameplates that can be updated as room names or booking systems change. Choosing a wayfinding system with interchangeable inserts, rather than permanently printed panels, saves significant reprint costs down the road as teams shift and rooms get renamed.
Step Five: Conference Room and Collaboration Space Branding
Glass walls have become standard in modern office design, and they present a unique graphics opportunity along with a practical challenge. Frosted vinyl film, dot patterns, or branded frit-style graphics on glass partitions provide privacy while reinforcing brand identity, but they need to be measured and ordered based on final glass dimensions, which are rarely locked in until late in construction. Build in a buffer for this step rather than assuming standard sizes will fit.
Step Six: Culture and Values Walls
Many companies dedicate a wall, hallway, or breakroom space to reinforcing company values, milestones, or team photography. These installations tend to be the most flexible from a timeline standpoint since they typically do not require structural blocking, but they benefit from being planned early so the wall space is reserved rather than filled with a random equipment closet or supply cabinet during the scramble of move-in.
Step Seven: Material Selection for Long-Term Durability
Office environmental graphics live in a space for years, not days like a trade show booth. That changes the material conversation. High traffic hallways need scuff-resistant laminates. Windows facing direct sun need UV-stable inks and films to avoid fading. Kitchen and breakroom graphics near food prep areas may need antimicrobial or easily wipeable surfaces. A material that looks perfect on installation day but fades or peels within a year creates more disruption than doing nothing at all, since removal and replacement in an occupied office is far more disruptive than in an empty shell.
Step Eight: Budget for Future Changes
Companies grow, rebrand, and reorganize. Build a portion of the environmental graphics budget around systems that can be updated without a full reprint and reinstall. Removable wall films, modular sign frames with replaceable inserts, and printed panels mounted with reusable hardware all allow a company to refresh a space in a few years without the same capital investment as the original build-out.
Bringing It All Together
The single biggest lesson from office build-outs that go well is timing. Environmental graphics succeed when they are part of the design conversation from day one, not an afterthought squeezed in during the final punch list. Companies that loop in a large format print partner early get better material options, fewer surprises, and a finished space that actually reflects the brand it was built to represent.
XL Digital works with architects, general contractors, and office managers to plan environmental graphics packages that fit real construction timelines. If you have a build-out on the calendar, reach out early and we can walk the plans with you before the walls go up.